
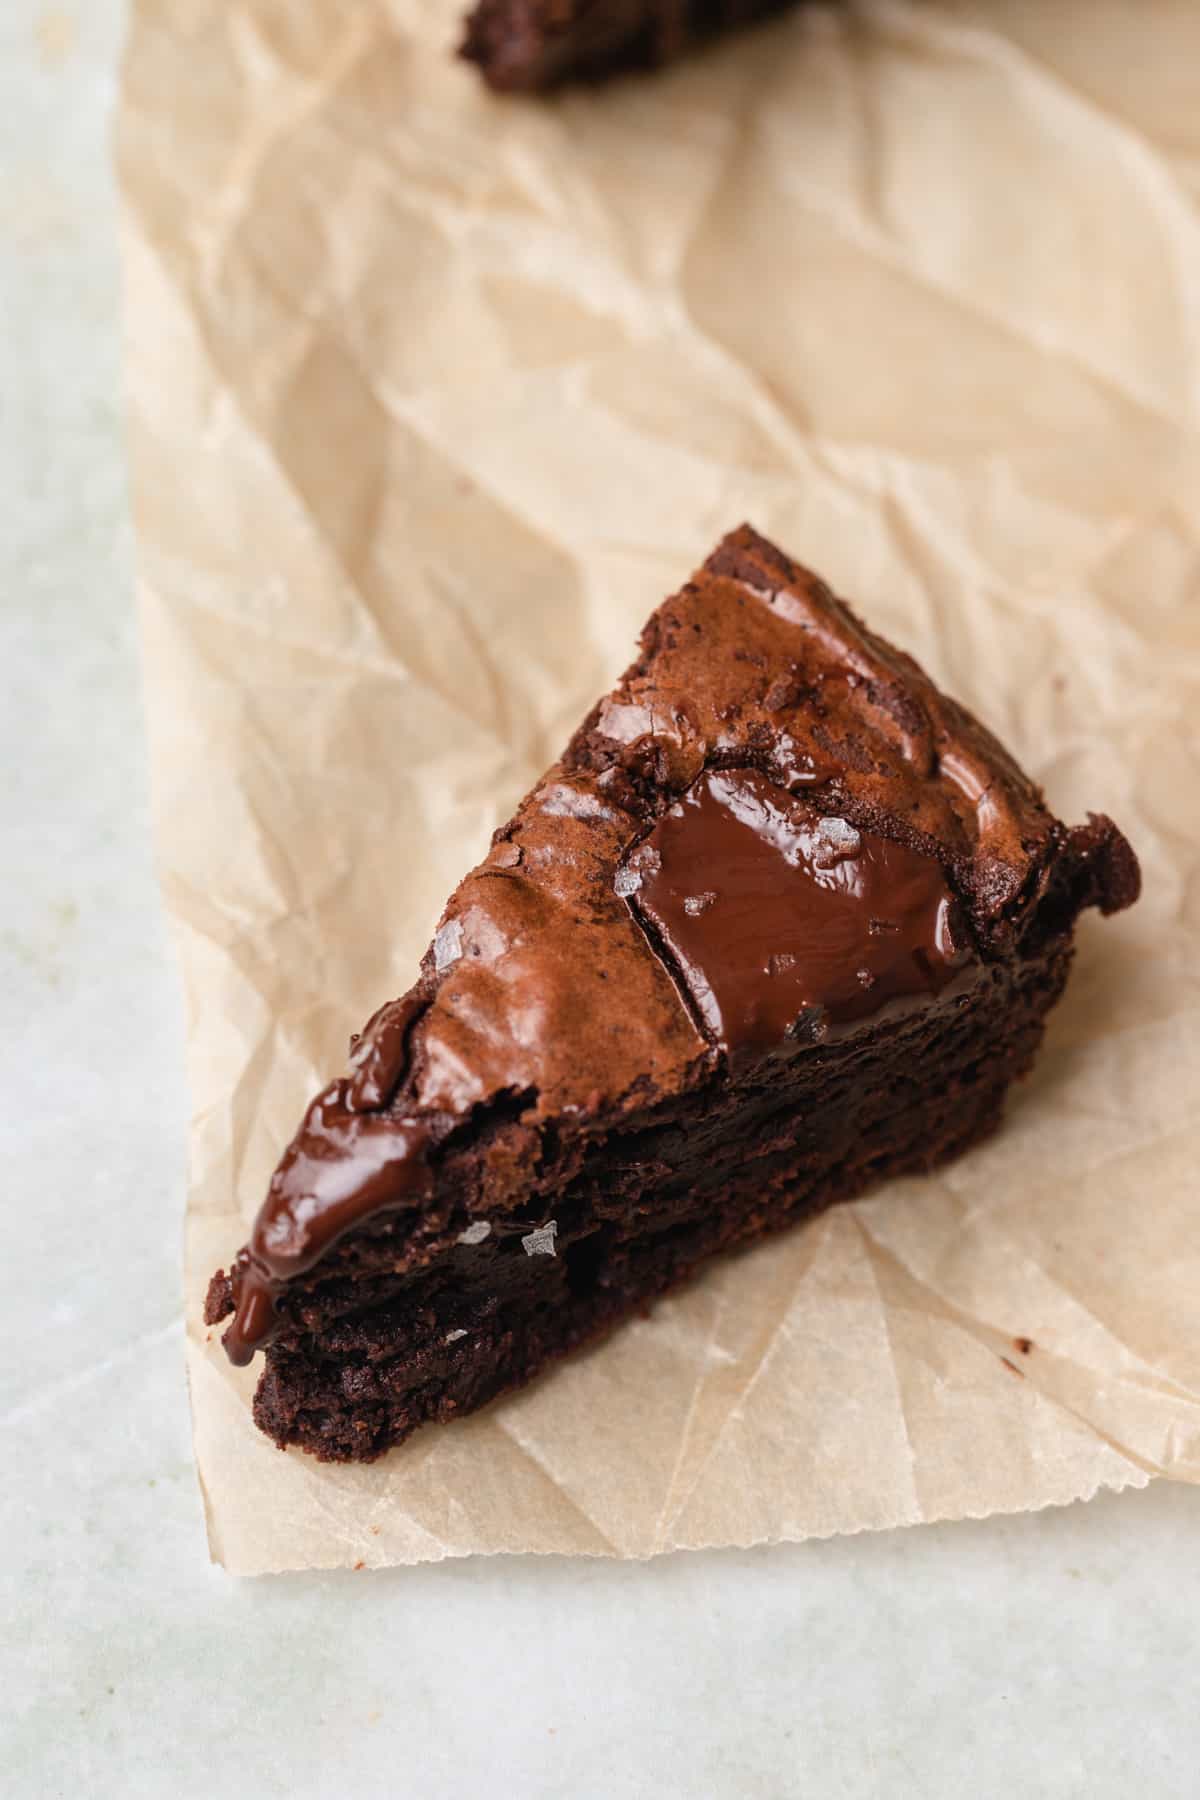
These are the best small batch brownies made in a loaf pan! They are moist, fudgy brownies with shiny crinkled tops, crisp edges, and gooey centers loaded with chocolate chunks. This recipe makes 8 brownies, ensuring that none of them will go to waste!
If you couldn't tell, I'm a brownie lover. The way to my heart is with a fudgy brownie with an ooey-gooey, chocolatey center. However, sometimes I can't finish a whole pan and my leftover brownies tragically go to waste. If you have the same problem, let me introduce you to small batch brownies.
This recipe is a variation on my olive oil brownies, pistachio brownies, ganache brownies, and almond brownies but without the olive oil or nuts, made as a small batch in a loaf pan!
The batch size of 8 is perfect for someone living alone, with their partner, or with a couple of roommates. You definitely won't have a ton of leftovers!
For more small batch recipes, try my small batch oatmeal chocolate chip cookies, small batch banana muffins, small batch vanilla cupcakes, or small batch blueberry muffins!
Jump to:
Why You'll Love this Recipe
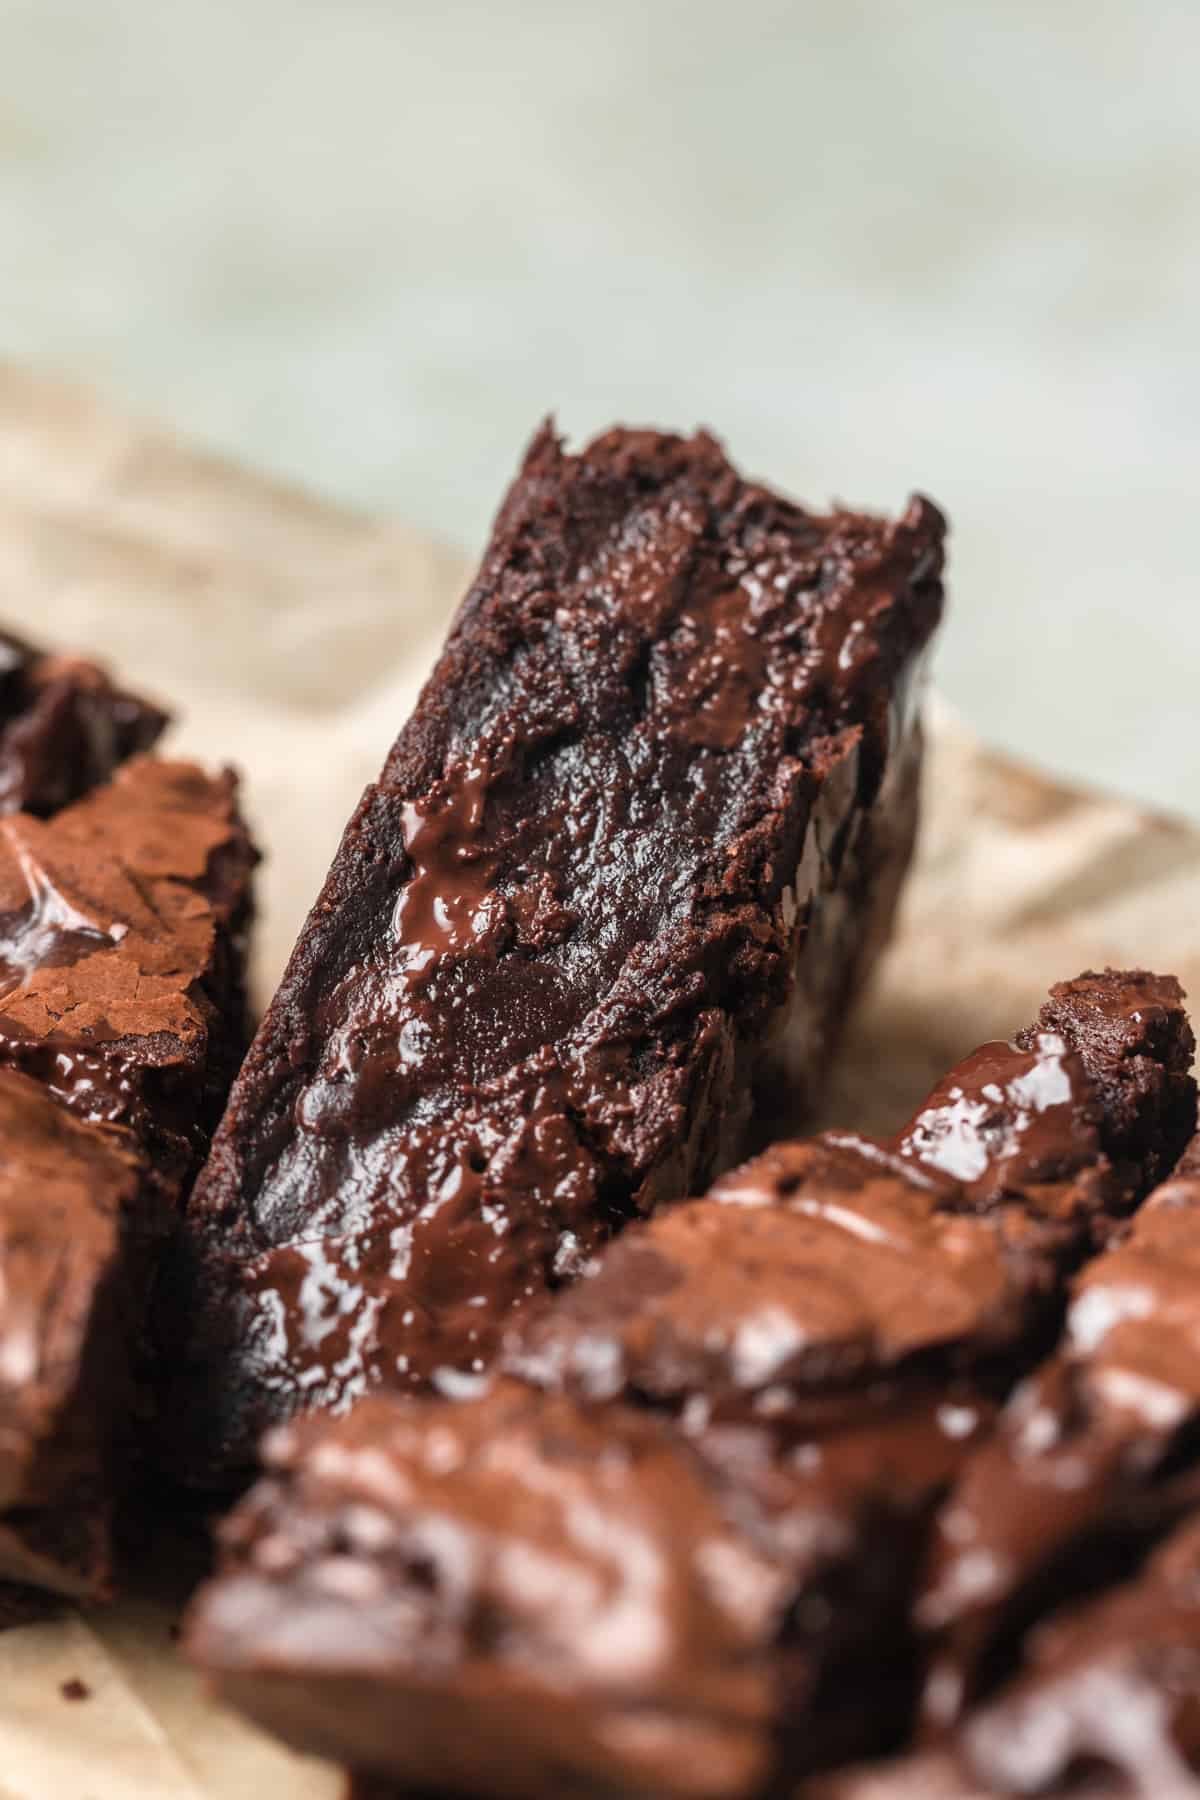
- So much chocolate- These homemade brownies are made with melted chocolate and dutch-processed cocoa powder, which makes them ultra rich and fudgy. They'll surely satisfy any chocolate craving, especially when served warm with a scoop of ice cream!
- Made with oil instead of butter- Most brownie recipes are made with unsalted butter. these are made with oil, which helps them stay soft and moist for days.
- The perfect size- This recipe makes a small amount of brownies (8), perfect for a small family. Baking them in a loaf pan instead of a square pan makes them thick with a fudgy texture.
Ingredient Notes
Here are some notes about the ingredients used. For quantities and full instructions, see the recipe card below.

- Chocolate- Use high quality bittersweet or dark chocolate with a minimum of 70% cocoa solids. If you use chocolate with a lower percentage of cocoa solids, the brownies will have too much sugar and won't set up properly. You can use chopped chocolate bars from brands like Guittard or Ghirardelli; avoid chocolate chips since they don't melt as well.
- Oil- Making brownies with oil instead of butter makes them ultra fudgy and moist. Any mild tasting oil works, like canola or vegetable oil.
- Granulated sugar- White sugar adds sweetness while letting the chocolate flavor shine. Don't reduce the sugar or the brownies won't be as moist.
- Brown sugar- A little brown sugar adds moisture and a deep flavor. Use light or dark brown sugar depending on your preference; dark brown sugar has a deeper molasses flavor. Make sure it's moist and fresh, not dry.
- Eggs- Two large eggs bind the ingredients together and add a bit of lift since brownies are made without baking powder or baking soda. They should be at room temperature, so take them out of the refrigerator an hour before you start baking.
- Vanilla extract- This rounds out the flavor profile. Use ure vanilla extract or vanilla bean paste for the best results.
- All purpose flour- This gives the brownies the best fudgy yet hearty texture. Flour is easy to overmeasure with measuring cups, so I recommend measuring it in grams with a kitchen scale to prevent dryness.
- Cocoa powder- Use unsweetened dutch-processed cocoa powder. This kind of cocoa is treated with an alkalizing agent, which makes the cocoa less acidic. This gives it a deeper color and flavor than natural cocoa powder.
- Salt- Add a pinch of salt to offset the sweet chocolate and deepen the flavor profile.
- Chocolate chips- These are folded into the batter for an extra chocolatey boost! Instead of chocolate chips, you can use chopped chocolate or chocolate chunks. Semi-sweet, bittersweet, or dark chocolate chips all work. You could even try white chocolate chips!
Substitutions and Variations
- Gluten free option- Gluten free all purpose flour can be substituted for all purpose flour! My favorite is Bob's Red Mill 1-to-1 Gluten Free Baking Flour.
- Mix ins- Fold ¼ cup chopped nuts like pecans, walnuts, or almonds right after adding the dry ingredients. You can also add candy like M&Ms, chopped Reese's cups, or a Snicker's bar. It's a great way to use up leftover Halloween candy!
- Add espresso powder- A few teaspoons of espresso powder will help deepen the chocolate flavor. Add it with the rest of the dry ingredients.
- Nut butter swirl- Swirl ⅓ cup of peanut butter, almond butter, or Nutella on top before baking.
- Add frosting- Make a small batch of my cream cheese frosted brownies by spreading small batch cream cheese frosting on top of the cooled brownies. They'd also be delicious with this chocolate fudge frosting.
Helpful Equipment and Tools
- You need a 9X5-inch loaf pan to bake the brownies in. Make sure to use a pan with a 1-pound capacity so the thickness and bake time are correct. I always recommend light-colored metal pans instead of silicone or glass pans. Metal conducts heat better, making the brownies cook more evenly and get those delicious chewy edges.
- Use an electric hand mixer to mix the ingredients together. You can use a whisk if you don't have a mixer, but your wrist might get a little tired!
Step by Step Instructions
Preheat the oven to 350 degrees Fahrenheit (180 degrees Celsius) and line your loaf pan with parchment paper.
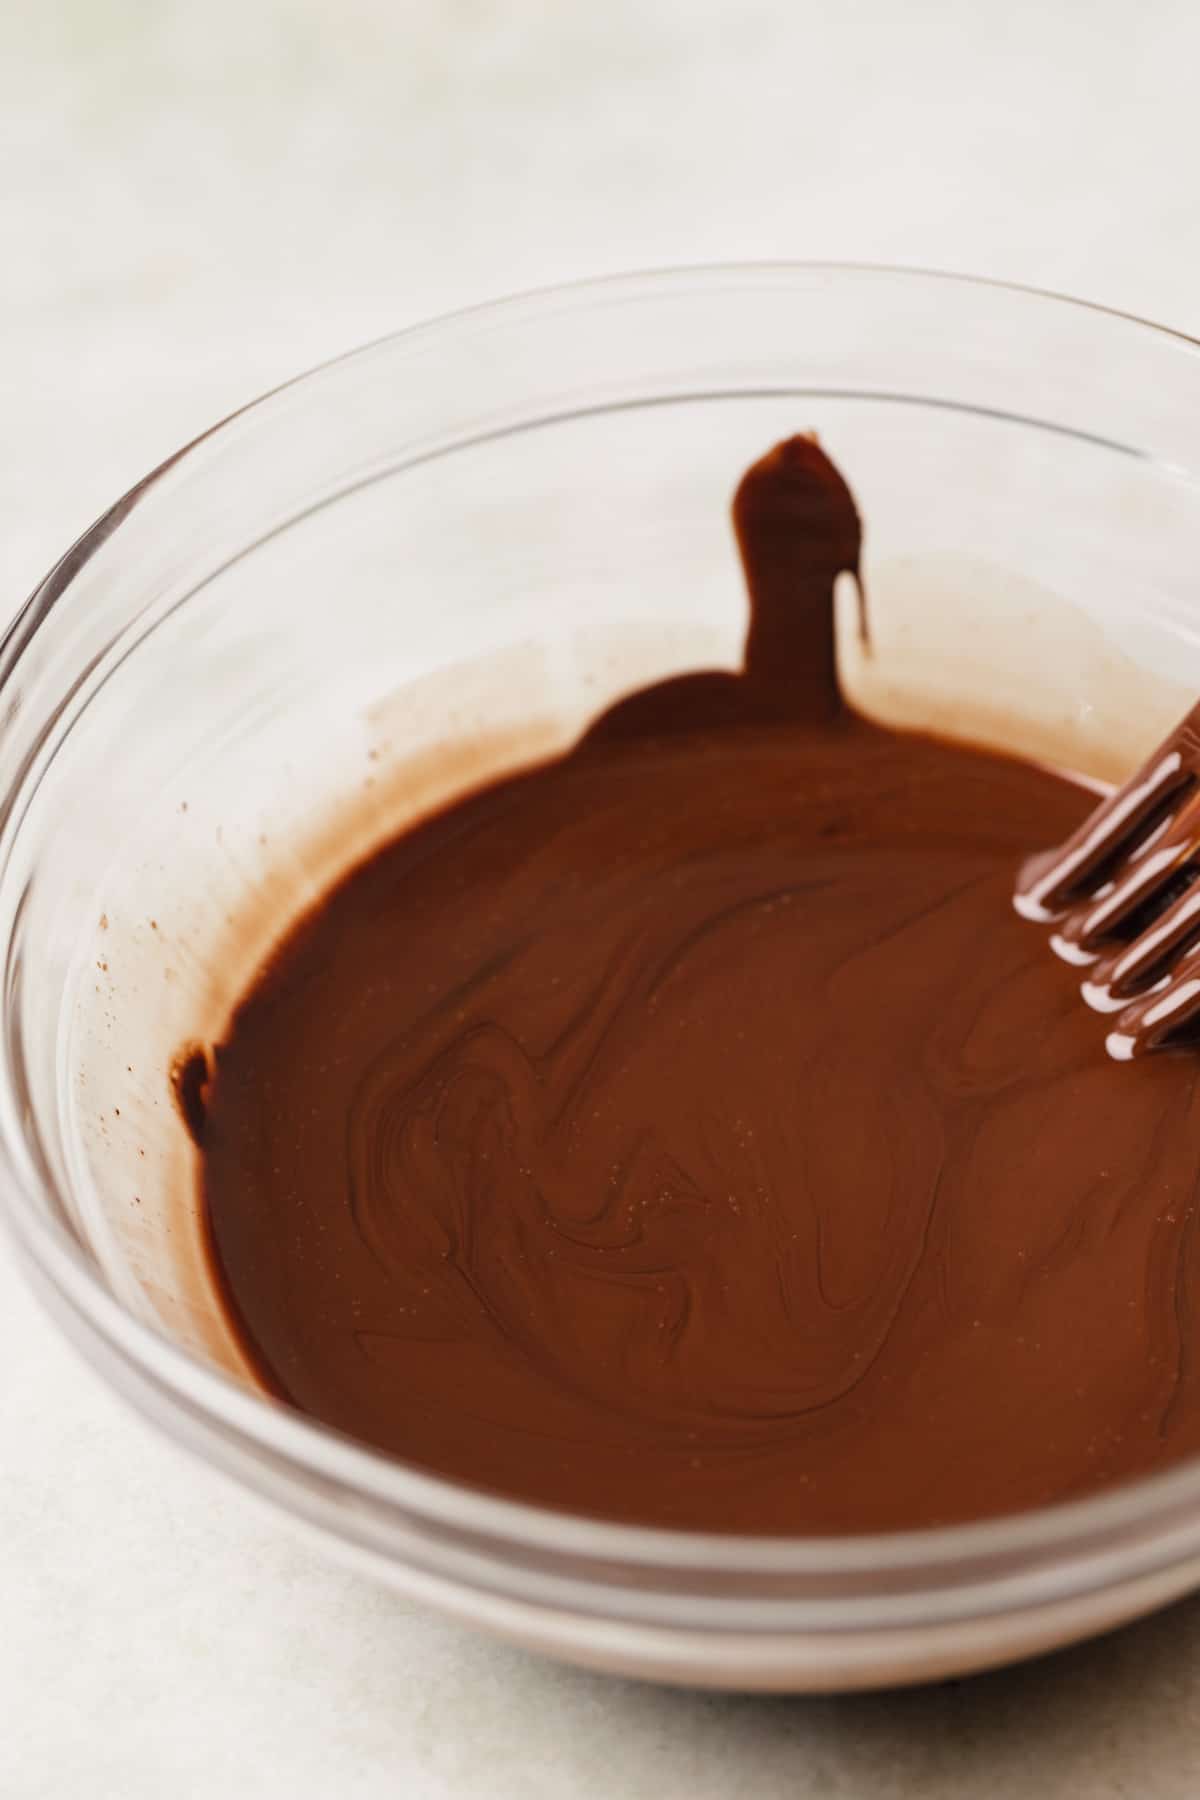
Step 1: First, melt the chopped chocolate in the microwave in a microwave-safe small bowl. Mix with a spoon or fork every 20 seconds so it doesn't burn. When the chocolate is completely melted and smooth, whisk in the oil and set aside to cool slightly.
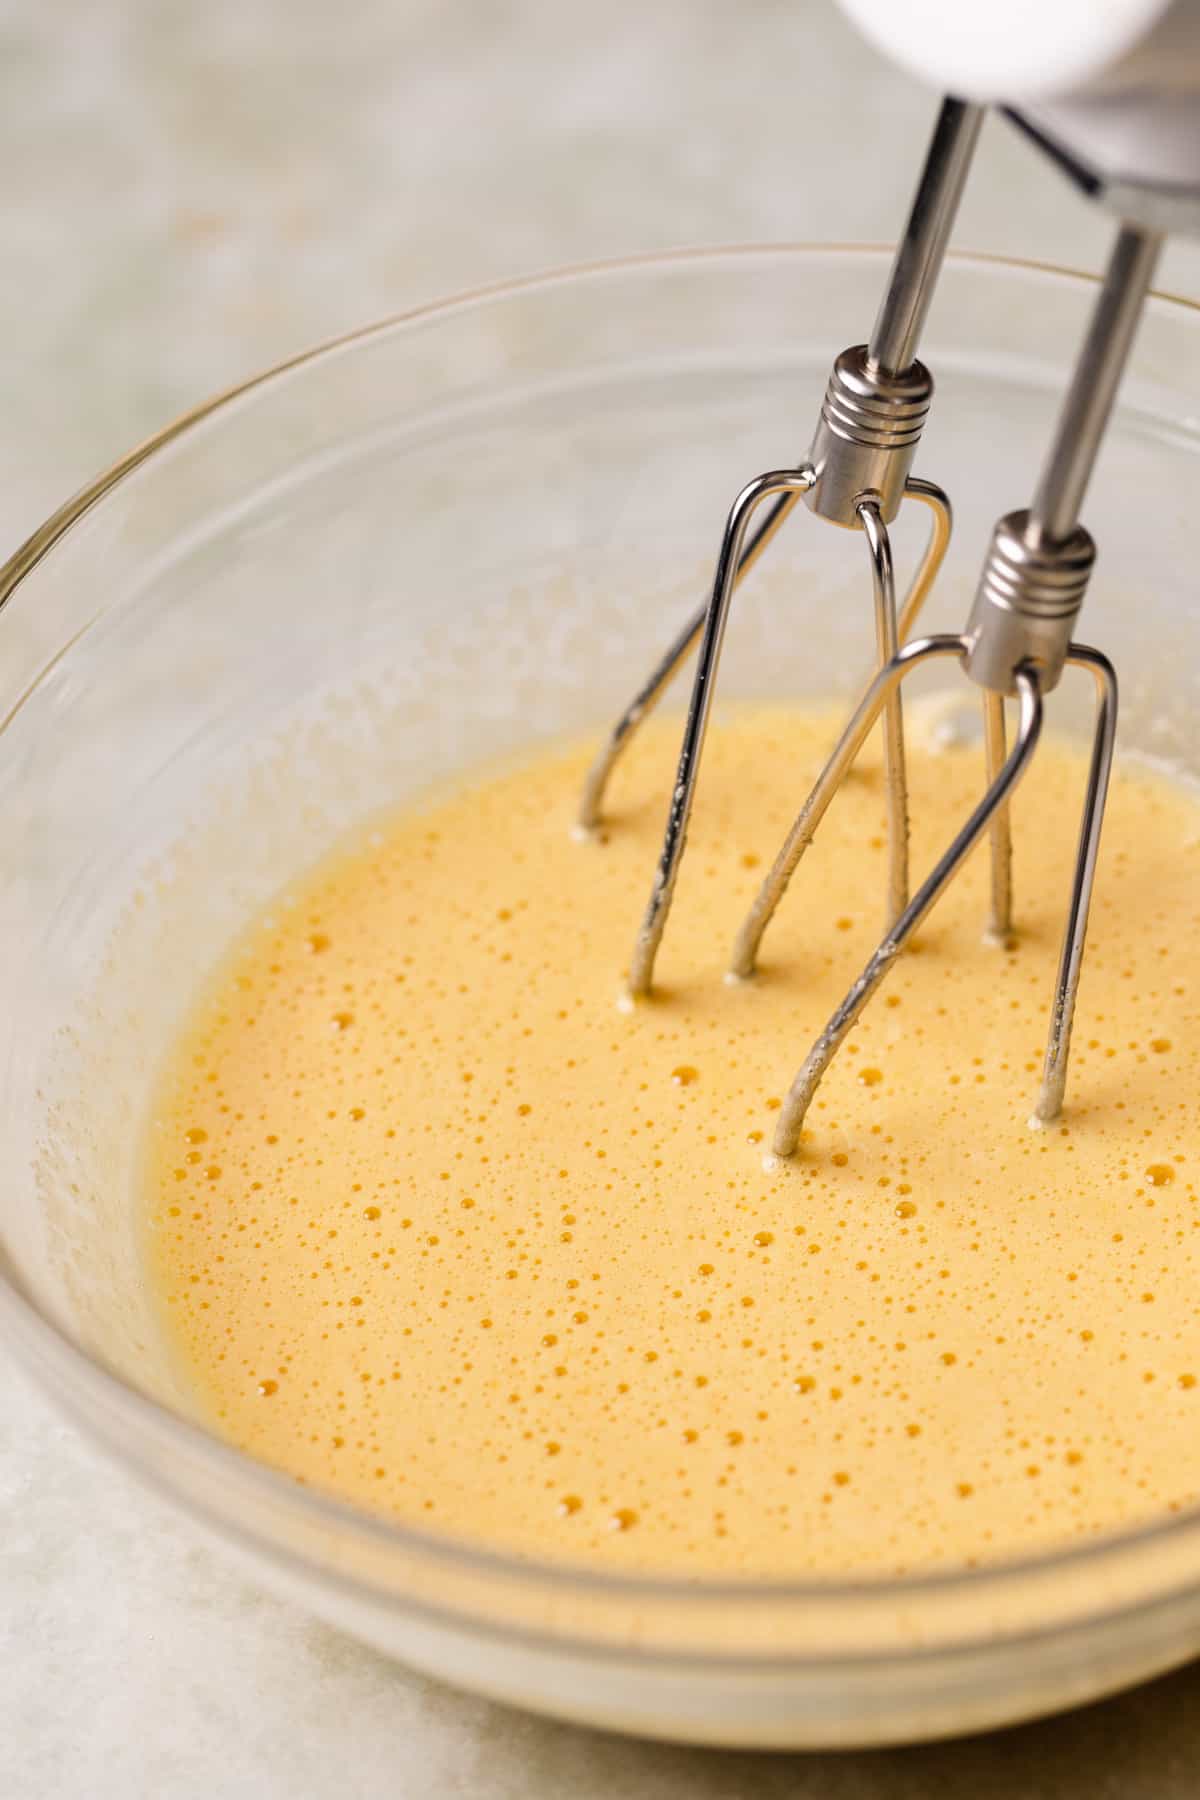
Step 2: In a large mixing bowl, beat the eggs, granulated sugar, brown sugar, and vanilla extract with an electric mixer on medium-high speed for 2-3 minutes or until the mixture is thick. It should be slightly foamy and pale yellow.

Step 3: While mixing the whipped eggs and sugar, stream in the chocolate mixture. Continue whisking until well combined.
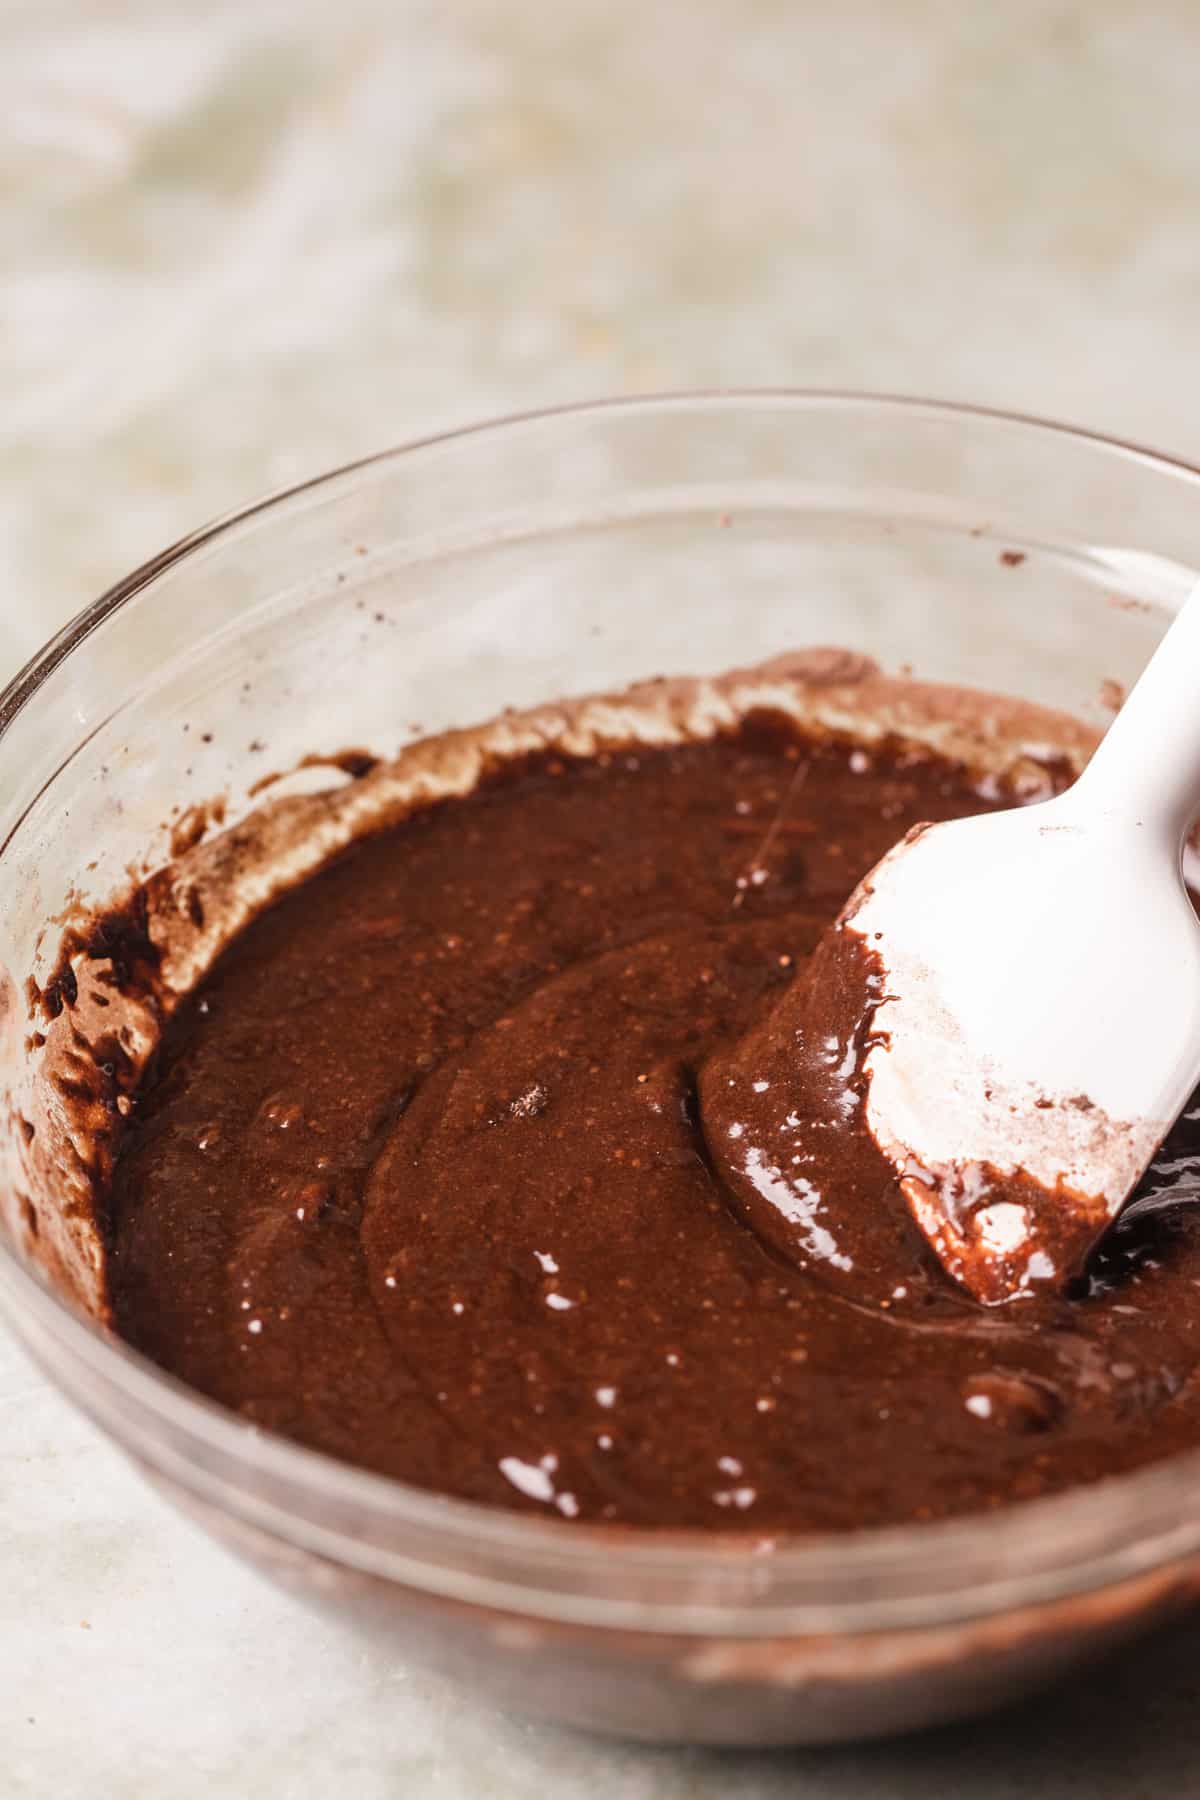
Step 4: Stop the mixer and add the flour, cocoa powder, and salt. Gently fold the dry ingredients in with a rubber spatula until no dry streaks of flour remain. Then fold in the chocolate chips.

Step 5: Spread the brownie batter into your lined baking pan and top with more chocolate chunks. Bake until a skewer or toothpick inserted in the center comes out with sticky, moist crumbs, but not wet batter.
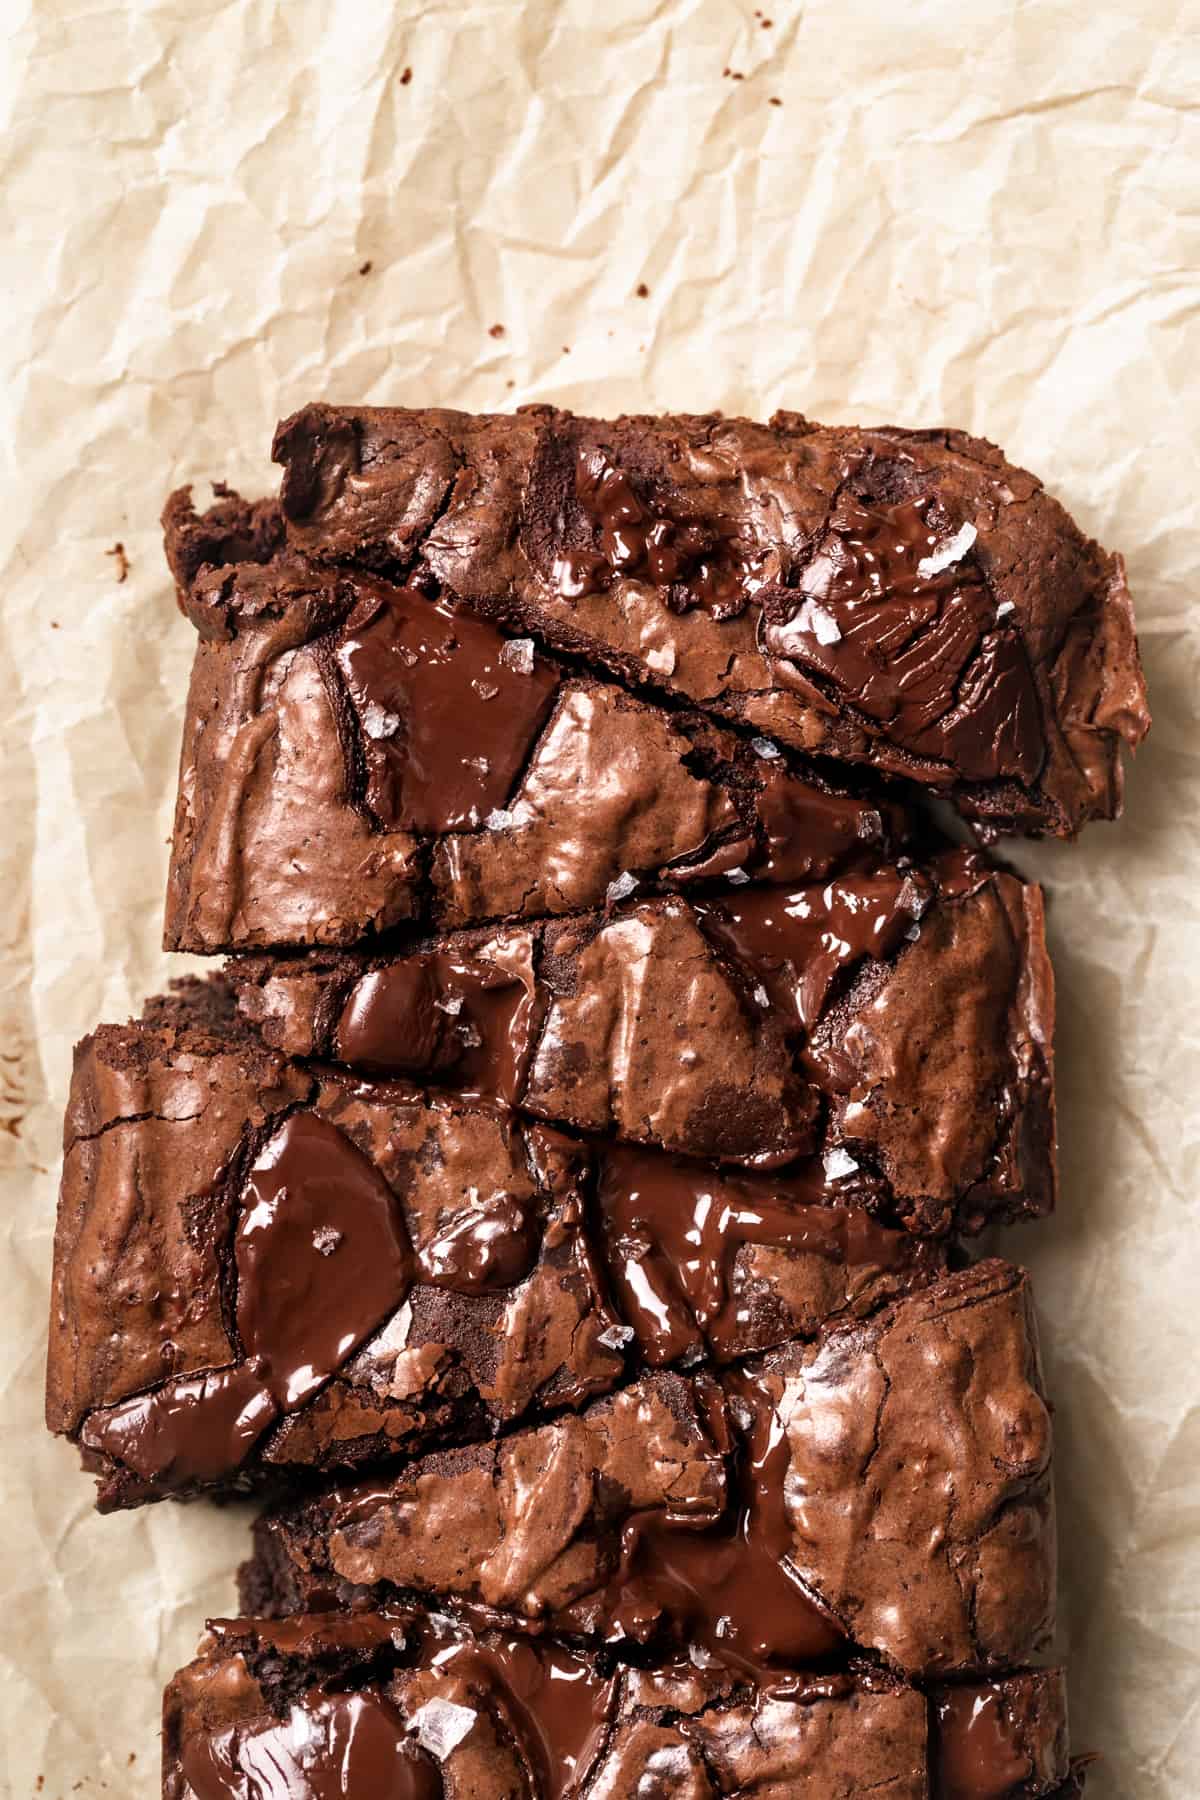
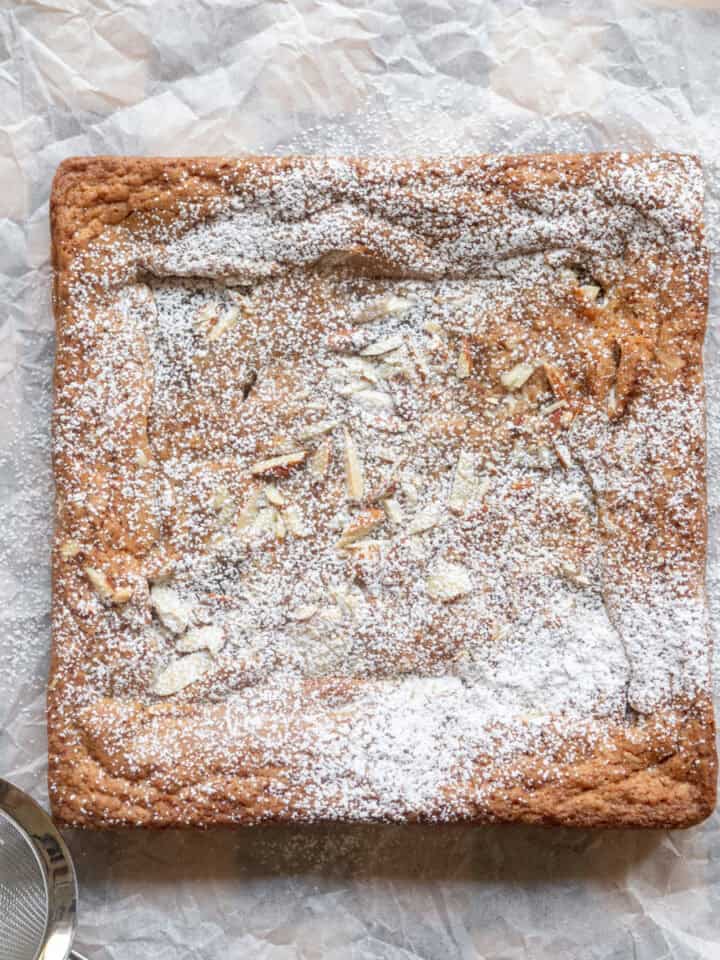
Step 6: Remove the brownies from the oven and let them cool for 5-10 minutes in the pan before transferring to a wire rack to cool completely.. Slice, add a pinch of flaky salt or a dusting of powdered sugar on top, and enjoy!
Expert Baking Tips
- Mix the eggs and sugar well. Vigorously beating the eggs and sugar together creates a shiny, crinkled top because the sugar dissolves into the eggs. This keeps the sugar in syrup form so that it holds and retains moisture, creating a fudgy brownie.
- Don't add baking powder or baking soda. Leaveners like baking powder or baking soda release air bubbles that can make cakey brownies.
- Measure the flour correctly. Too much flour leads to tough, dry brownies. Make sure to weigh it in grams with a food scale. If you don't have one, use the spoon and sweep method where you fluff up the flour, gently scoop it into your measuring cup, and swipe off the excess with a knife.
- Don't overbake! A toothpick should come out with just a few moist crumbs attached. If it comes out clean, the brownies might be dry. If the toothpick comes out with wet batter, they aren't ready yet. If the toothpick has a few sticky crumbs on it, they're perfect! Start checking for doneness after 18 minutes.
Storage Instructions
Store leftover small batch brownies in an airtight container at room temperature for up to 5 days. I don't recommend refrigerating brownies since they can dry out. Reheat them in the microwave for 10 seconds for a freshly baked feel.
Freezing Instructions
Slice the brownies and place sheets of parchment or wax paper between each one so they don't stick together. Place them in an airtight, freezer-safe container and freeze for up to 3 months. When you're ready to enjoy, let them thaw on the counter for 3-4 hours.
Frequently Asked Questions
I recommend using a 9X5 inch loaf pan. You can use an 8X4 inch loaf pan but the brownies will be a little thicker and take about 2-3 minutes longer to bake. I don't recommend any other pan shapes for this recipe. Also make sure to use a metal pan. A glass pan won't heat evenly and the brownies will burn if you use a silicone pan.
I don't recommend using regular unsweetened (or natural) cocoa powder, but it works in a pinch. The color and chocolate flavor won't be as deep as with dutch-processed cocoa powder.
Yes! This recipe makes 8 brownies but can easily be doubled to make 16. Make sure to use an 8X8 or 9X9-inch square baking pan instead of a loaf pan if you double it.
More Brownie Recipes to Try


📖 Recipe

Small Batch Brownies (in a Loaf Pan)
Equipment
- 1 9X5-inch loaf pan 1-pound capacity
Need Metric or US Customary Measurements?
Use the buttons below to toggle between grams and cups!
Ingredients
- ½ cup bittersweet chocolate chopped
- ¼ cup vegetable oil
- 2 large eggs room temperature
- ½ cup granulated sugar
- 2 tablespoon brown sugar light or dark
- 1 teaspoon vanilla extract
- ⅝ cup all purpose flour
- ¼ cup dutch-processed cocoa powder
- ¼ teaspoon salt
- ½ cup semi-sweet chocolate chips
Instructions
- Preheat the oven to 350 degrees Fahrenheit (180 degrees Celsius). Line a 9x5-inch 1 pound loaf pan with parchment paper and set aside.
- Melt the chopped chocolate in a heatproof bowl in the microwave. Mix every 15 seconds so it doesn't burn.½ cup bittersweet chocolate
- When the chocolate is melted, whisk in the oil and set aside to cool.¼ cup vegetable oil
- In a large mixing bowl, beat eggs, granulated sugar, brown sugar, and vanilla extract with an electric mixer on medium high until thick and pale.2 large eggs, ½ cup granulated sugar, 2 tablespoon brown sugar, 1 teaspoon vanilla extract
- Stream the chocolate-oil mixture into whipped egg mixture. Beat until well-combined.
- Gently fold in the flour, cocoa powder, and salt until no dry streaks of four remain. Then fold in the chocolate chips.⅝ cup all purpose flour, ¼ cup dutch-processed cocoa powder, ¼ teaspoon salt, ½ cup semi-sweet chocolate chips
- Spread the batter into the lined loaf pan and top with additional chocolate if desired. Bake for 20-25 minutes or until a toothpick inserted in the center comes out with sticky, moist crumbs.
- Let the brownies cool for 5-10 minutes in the pan. Then transfer to a wire rack and cool completely. Slice and enjoy!


Billie
Can your BROWNIES bake in a different pan. Like square. Round. And what size
Megan Weimer
Hi! You can double the recipe to use a 9x9" or 8x8" square pan. I used a 9x5" loaf pan, but you can also use an 8x4", they just might take a little longer to bake and be thicker when they're done.
Hannah
in the video they dont look as fudgy, just to clarify, they dont turn out a bit too cakey right? maybe ur lighting is diff!
Megan Weimer
I didn't find them cakey when I tested them! Just be careful to not overbake.