
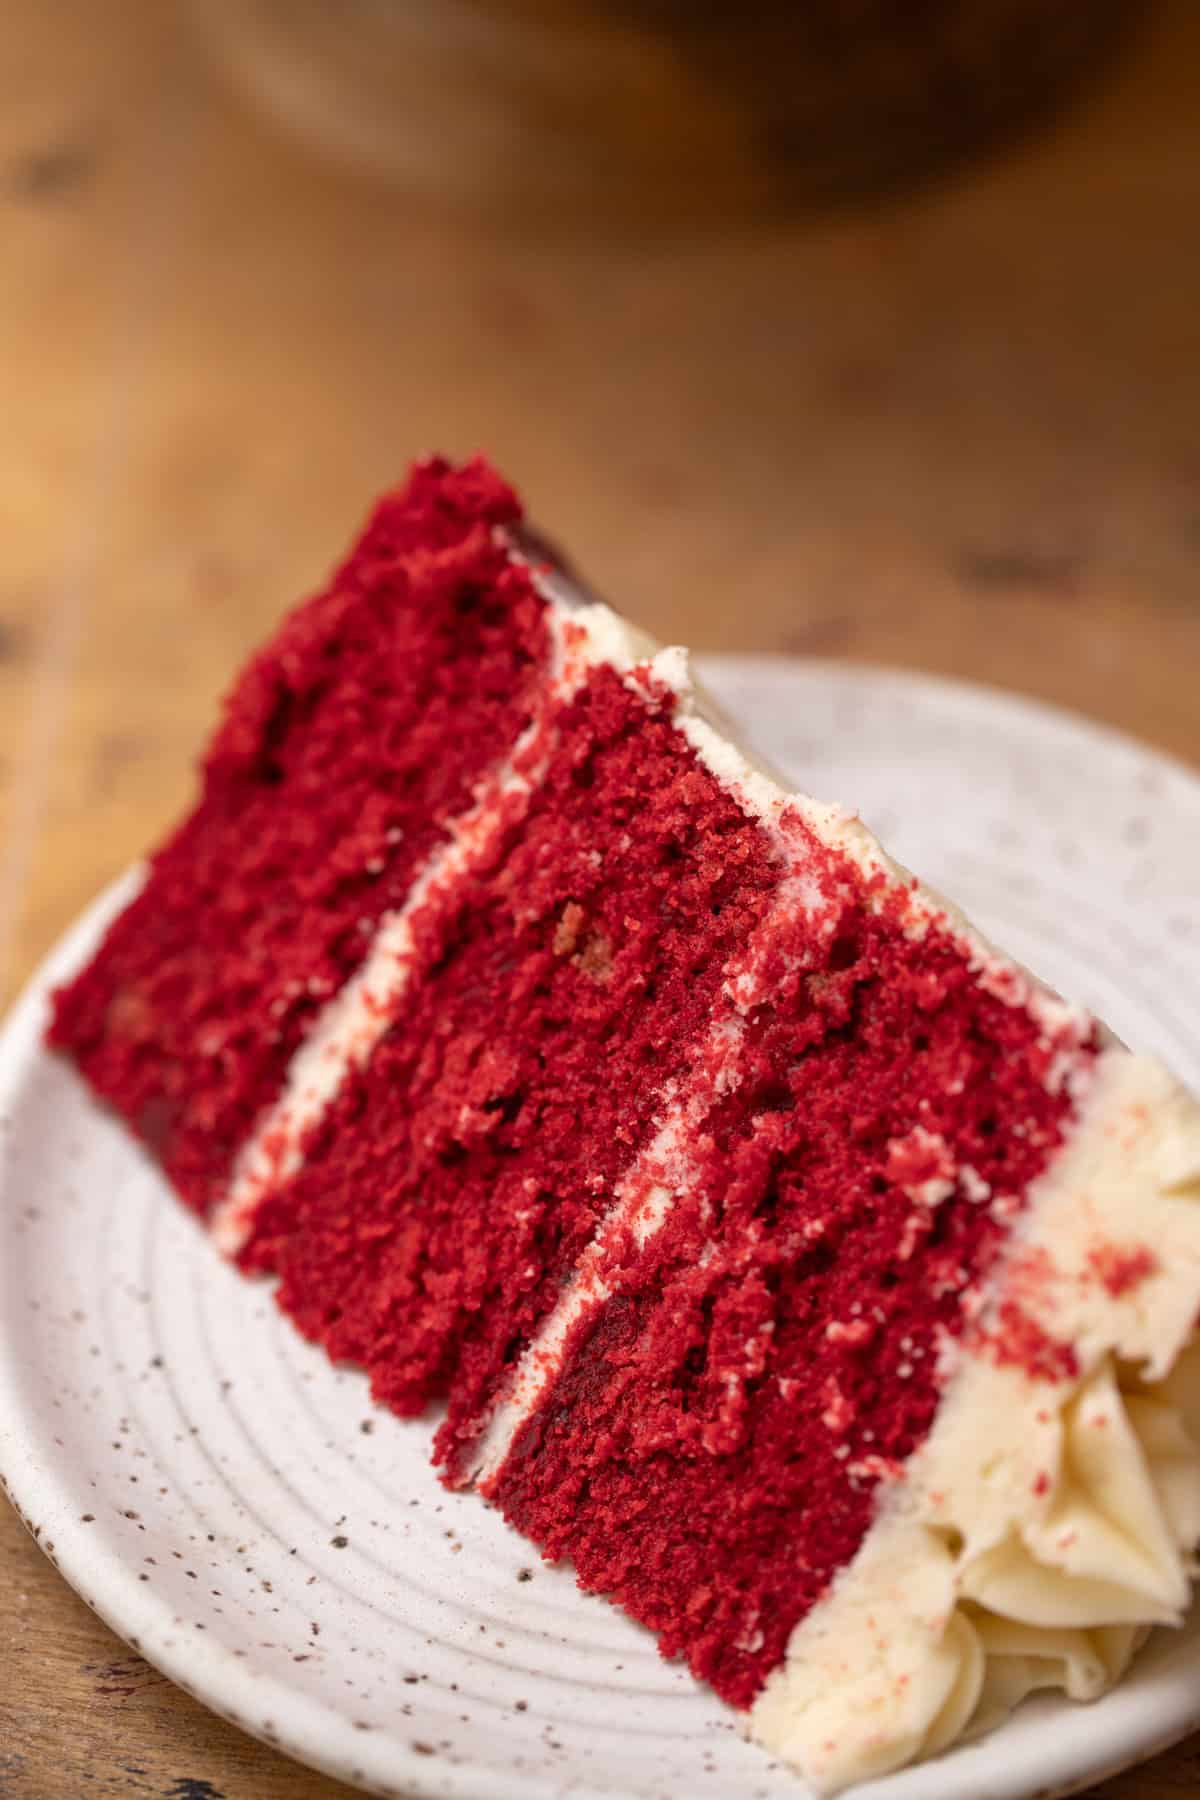
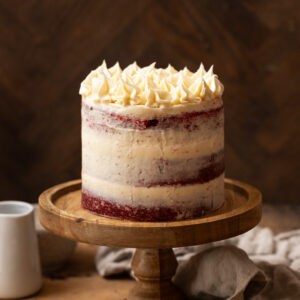
This naked red velvet cake has a moist, silky texture, mild chocolate flavor, and gorgeous red color! It's frosted with a thin layer of classic cream cheese frosting. This is the perfect cake to make for Christmas, Valentine's Day, or any special occasion.

This homemade naked red velvet cake is moist and tender, perfectly chocolatey, and has the best thick and fluffy cream cheese frosting! It's a classic cake recipe you'll want to make over and over again. Gel food coloring gives it a vibrant, romantic red hue that is perfect for occasions like Valentine's Day and Christmas Eve.
So what exactly is red velvet cake? Most people think it's just chocolate cake with a ton of red food coloring, but that's not exactly right.
I consider it a "mild" chocolate cake since it only has a few tablespoons of cocoa powder. It's not vanilla, not chocolate, but somewhere in the middle. It also has a tart flavor from vinegar or buttermilk and, of course, the cream cheese frosting.
This particular red velvet cake has a velvety crumb that melts in your mouth! It's made using the reverse creaming method instead of the traditional method of creaming butter and sugar together first.
The butter is mixed into the dry ingredients instead, which limits gluten formation and creates a super tender crumb.
I've used this method to make this small vanilla cake, white velvet cake, strawberry vanilla cake, lemon berry mascarpone cake, and more. It's faster, easier, and just the best way to make cakes!
The best part about red velvet cake has to be the cream cheese frosting. It's thick, tangy, and not too sweet. And if you want it to be more chocolate-forward, you can frost this red velvet cake with chocolate cream cheese frosting.
If you love red velvet, try small batch red velvet cupcakes, red velvet no bake cheesecake, red velvet Kiss cookies, red velvet strawberry cake, or red velvet Oreo cake.
Jump to:
Ingredient Notes
Here are notes about some of the ingredients used. You can find the full list, quantities, and instructions in the recipe card below.

For the cake.
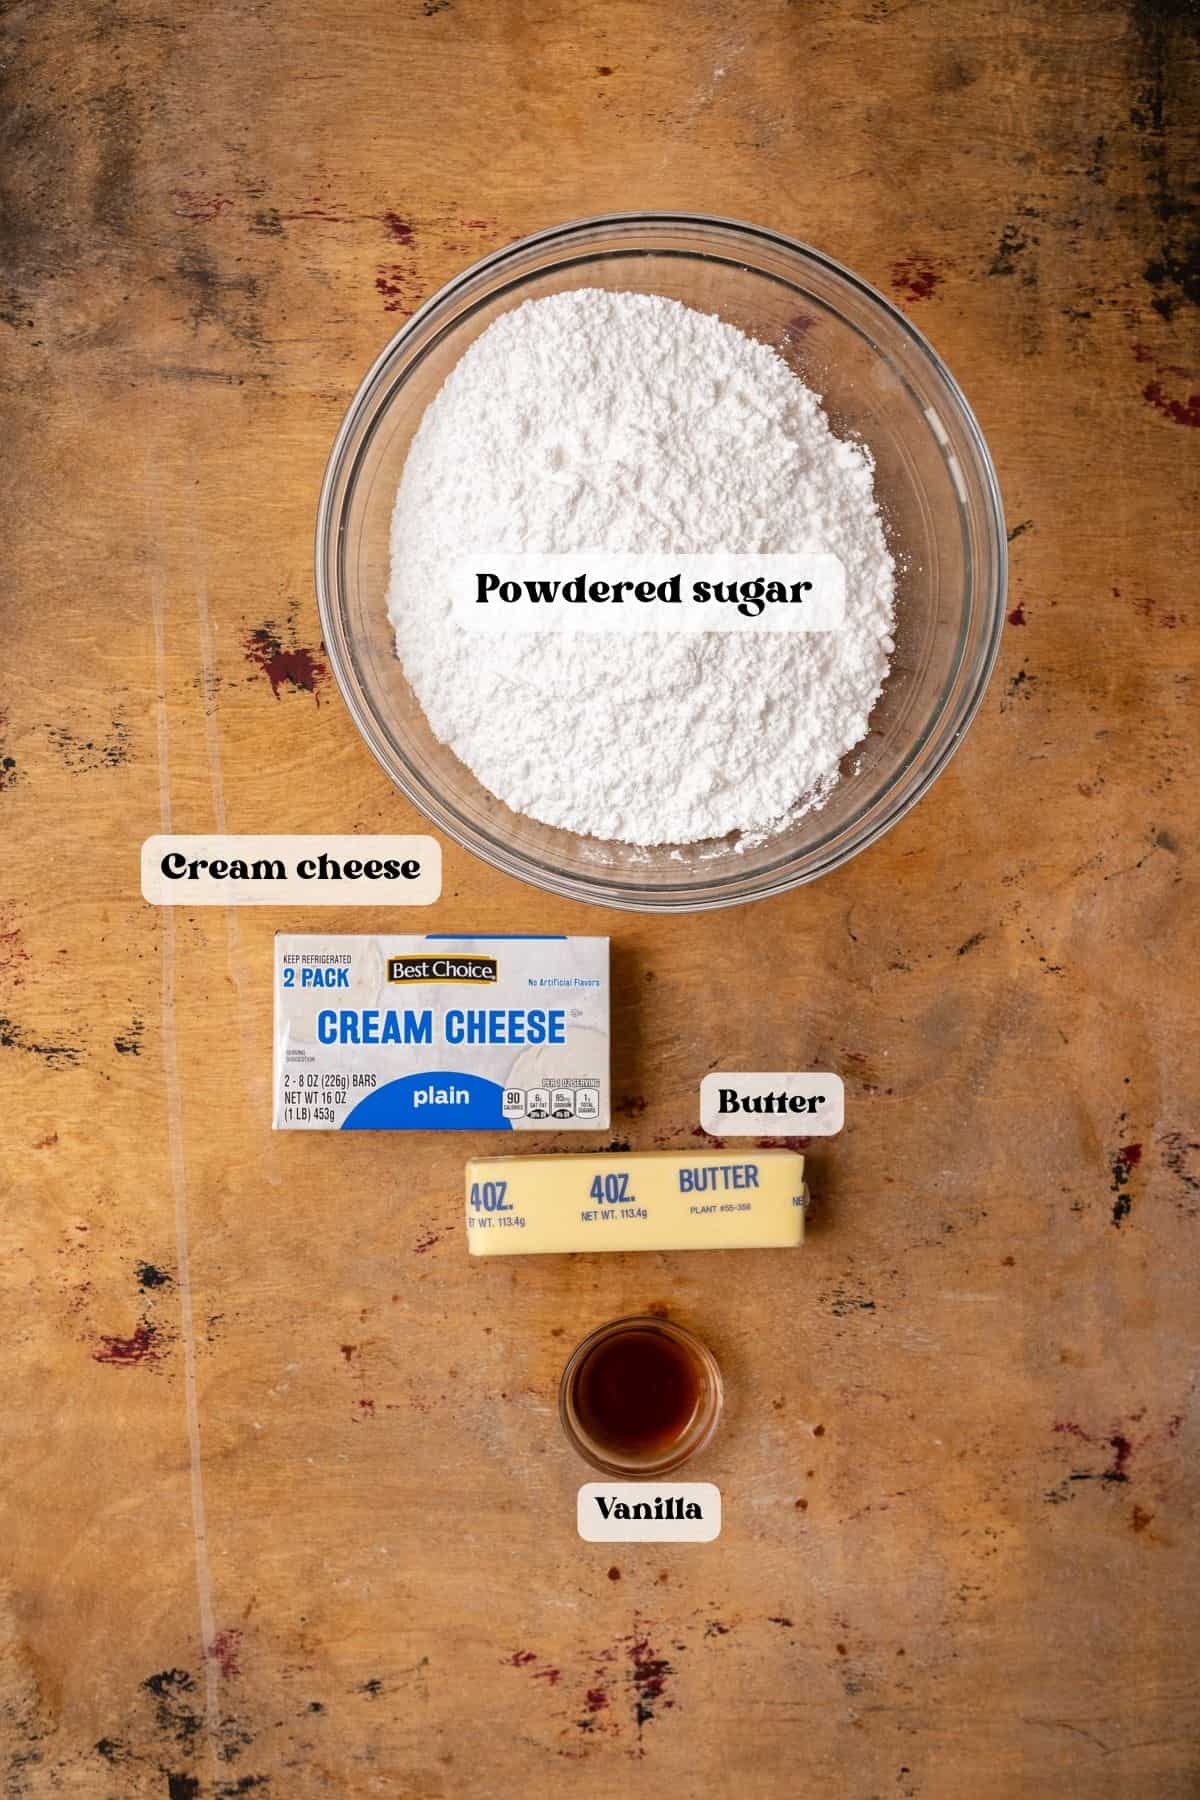
For the frosting.
- Cake flour- This light and fluffy flour has less protein and gluten than all purpose flour, giving the cake a tight, soft, tender crumb! It's essential for the sponge's texture, so don't use all purpose flour. Make this cake flour substitute instead.
- Cocoa powder- You only need a little cocoa powder for the perfect chocolate flavor. You can use unsweetened (AKA natural) cocoa powder or Dutch-processed. Unsweetened has a brighter flavor while Dutch-processed is rich and mellow.
- Granulated sugar- This perfectly sweetens the cake and helps retain moisture.
- Baking powder & baking soda- These leaveners react with heat and acid and make the cake rise in the oven. Make sure both are fresh, less than 6 months old.
- Unsalted butter- Softened unsalted butter gives the cake a buttery flavor. It's also in the cream cheese frosting.
- Oil- Making cakes with butter and oil creates a super silky, moist texture! Use a flavorless neutral oil like canola or vegetable oil.
- Eggs- Make sure your eggs are room temperature so they mix into the batter seamlessly. You need 2 large eggs for a cakey crumb.
- Egg white- One egg white helps make the cake even more fluffy! Make sure it's room temperature too.
- Vanilla extract- Use pure vanilla extract or vanilla bean paste for the best flavor.
- Buttermilk- This ingredient helps tenderize the crumb and add the tang that Southern red velvet cake is known for.
- Red food coloring- This is essential for red velvet! I used gel food coloring which has the most vibrant, true color.
- Cream cheese- Use softened, full-fat cream cheese for the frosting. It should come in a block. Reduced fat cream cheese or any kind in a tub will make the frosting runny.
- Powdered sugar- Also called confectioners sugar or icing sugar, this sweetens and thickens the frosting. Don't worry about sifting it- we're keeping things simple here!
Substitutions and Variations
- Caster sugar or cane sugar can be substituted for granulated sugar.
- If you're out of buttermilk, substitute plain kefir. You can also make your own buttermilk by mixing 1 cup of whole milk with 1 tablespoon of lemon juice or vinegar. Let it curdle for a few minutes and you're ready to go.
- If you're sensitive to food coloring, you can totally leave it out or reduce the amount to fit your preference.
- Try using this coffee cream cheese frosting instead to shake up the flavors! And if you run out of butter for the frosting, try this no butter cream cheese frosting.
Helpful Equipment and Tools
I baked my cakes in 6 inch round metal pans. Use metal instead glass or silicone because they can cause your cakes to burn. I recommend non-stick pans for the best results. Don't forget to spray them with baking spray and line with parchment rounds.
A 5-quart stand mixer or electric handheld mixer both work for mixing the batter.
For decorating, an offset spatula is a must! A bench scraper is helpful to smooth everything out.
This is optional, but consider buying a revolving cake decorating stand. It spins as you frost so you don't have to awkwardly reach around the cake.
Step by Step Instructions
Before you start baking, first preheat the oven to 350 degrees Fahrenheit (180 degrees Celsius).
Grease and line your cake pans with parchment paper and set aside.
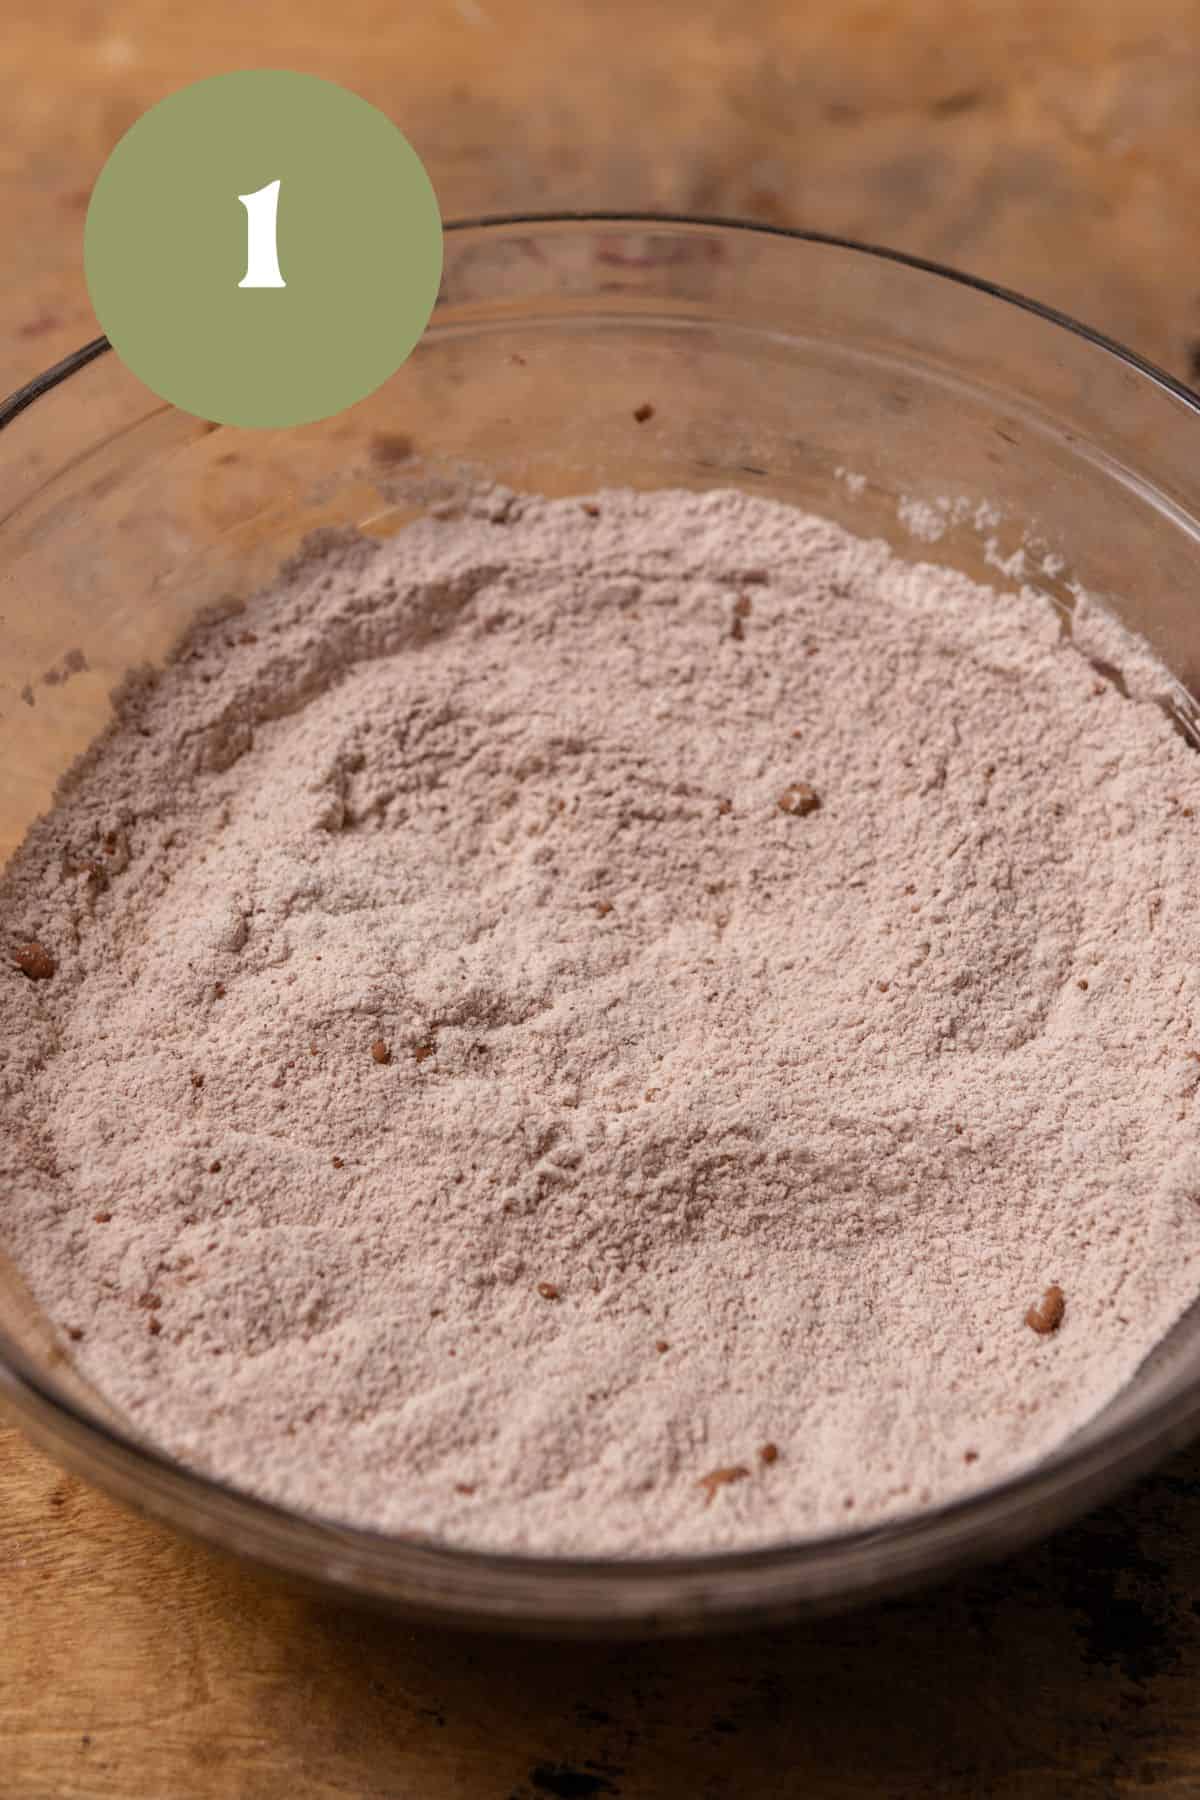
Step 1: First, add the cake flour, cocoa powder, granulated sugar, baking powder, baking soda, and salt to a large bowl. Mix with an electric handheld mixer or stand mixer until combined.

Step 2: Next, beat the softened butter into the dry ingredients on low for about 5 minutes or until the mixture looks like wet sand. This is easier to do with a stand mixer and might take a little longer with a hand mixer.

Step 3: Next, add the oil, eggs, egg white, and vanilla to the bowl and mix on low until a thick batter forms.

Step 4: Gradually pour in the buttermilk, mixing until well combined. Then mix in the food coloring on low until the cake batter is evenly colored, smooth, and glossy.
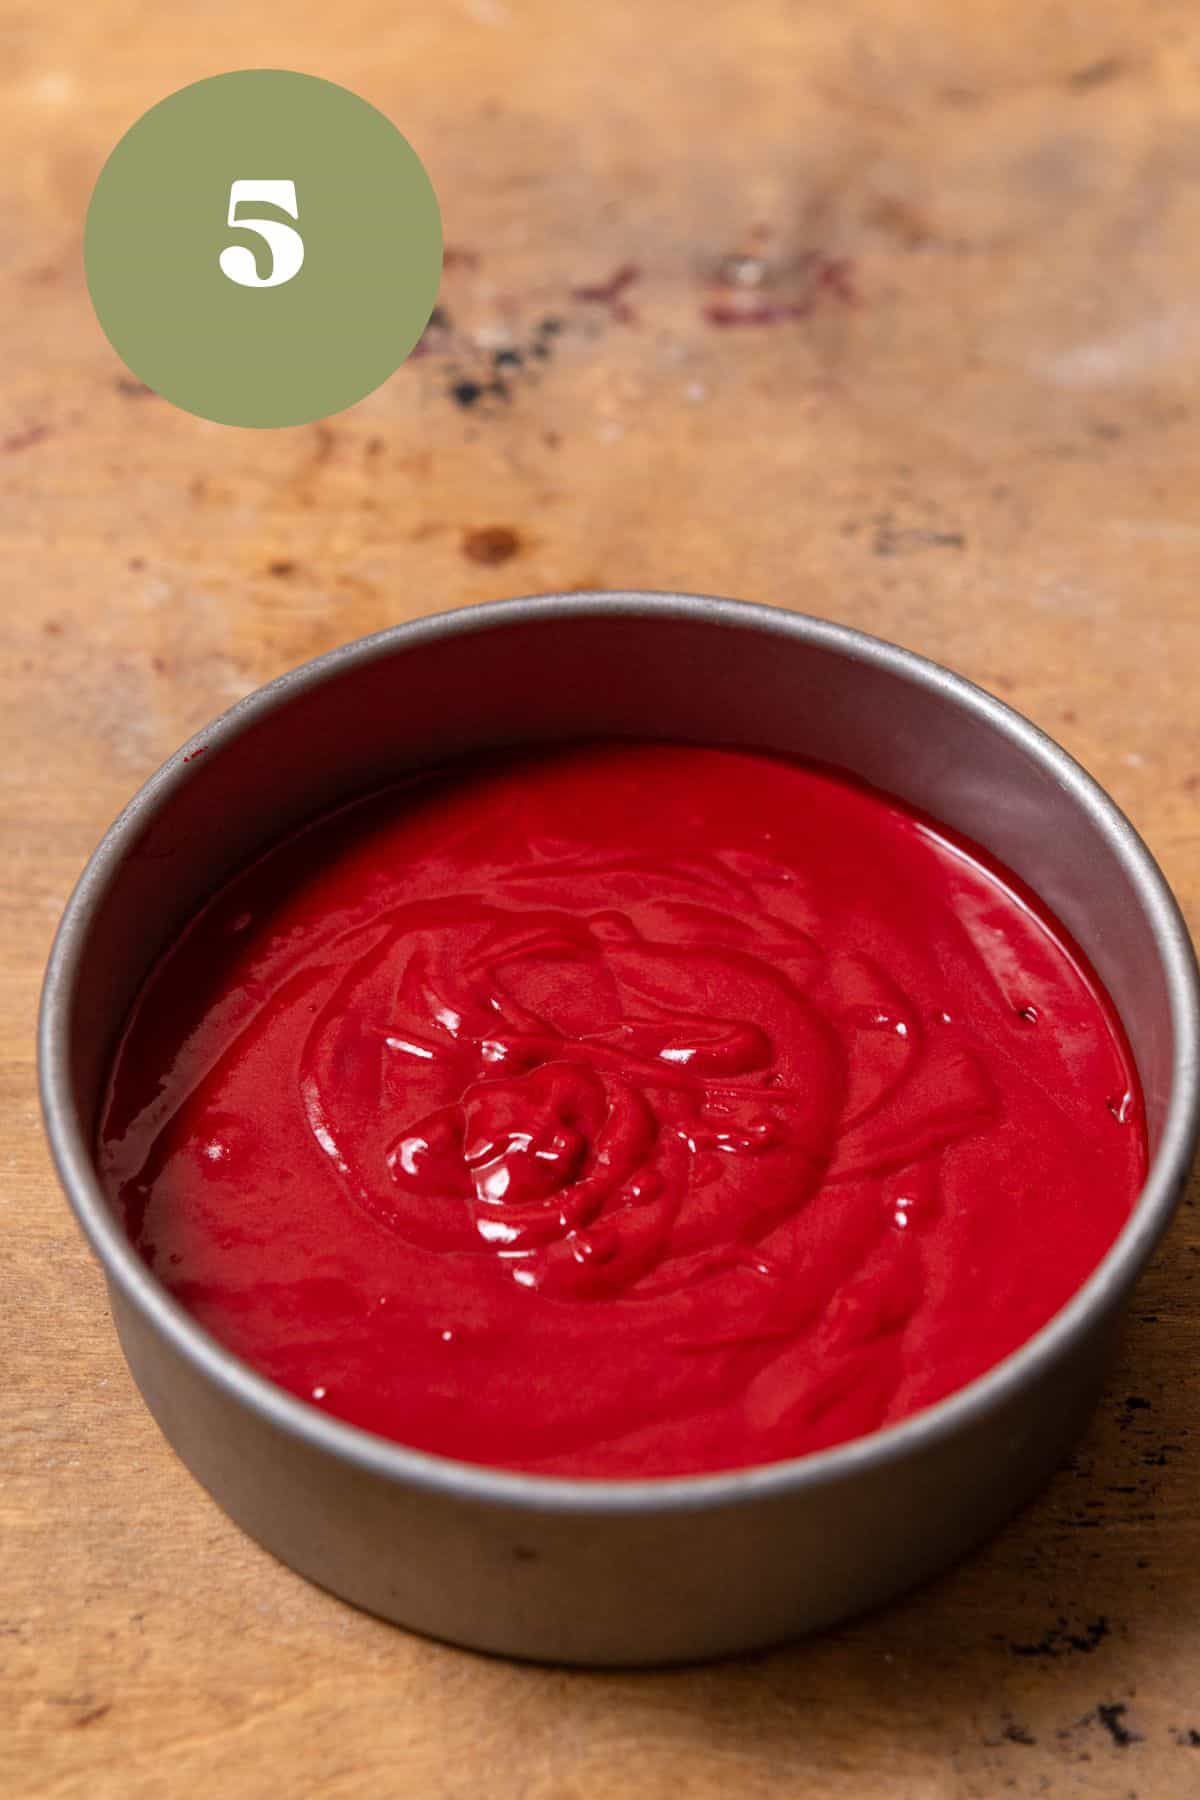
Step 5: Distribute the batter evenly between the three prepped pans (approximately 380 grams per pan). Bake until a toothpick inserted in the center comes out clean with moist crumbs.
Remove the cakes from the oven and let them cool for 10-20 minutes. Loosen the sides with a butter knife, flip upside down on a wire cooling rack, and release the pans. Let the cakes cool completely before you frost them or the frosting will melt and slide off!

Step 6: To make the cream cheese frosting, first cream softened butter and cream cheese together on medium-high speed until smooth and creamy. Scrape down the sides of the bowl to get any clumps.

Step 7: Next, gradually mix in the powdered sugar on low 1 cup at a time until fully combined. Mix in the vanilla extract on low, then increase the speed to medium until the frosting is thick and fluffy.

Step 8: Finally, assemble the cake! Start by placing the first layer on a cake stand and spreading ¾ cup frosting evenly over the top. Repeat with the second layer.
Flip the third layer upside down and place it on top. Carefully spread a thin crumb coat of frosting over the whole cake with an offset spatula. I smoothed it out with a bench scraper as pictured.
You can leave the cake like this (semi-naked), omit the crumb coat completely for a true naked red velvet cake, or add leftover frosting to a piping bag with a star tip and pipe designs all over the cake. Slice and enjoy!
Expert Baking Tips
- Use room temperature wet ingredients. This ensures all the ingredients mix in seamlessly, creating the best texture. Cold ingredients can make the cake gummy.
- Measure the flour accurately. Don't pack the flour into your measuring cup! This will make your cakes dry and dense. Instead, gently spoon the flour into your measuring cup until it's overflowing and swipe off the excess. I recommend weighing it in grams with a kitchen scale for the best results.
- Distribute the cake batter evenly. Use a scale to weigh the amount of batter you add to each pan. This ensures each layer is even!
- Don't overbake! The last thing we want is a dry cake. Take the cakes out of the oven when a toothpick comes out clean with a few moist crumbs attached. As long as there's no wet batter on the toothpick, the cakes are baked through. If the cake springs back when you gently press it with your finger, it's done.
Storage and Freezing
Red velvet cake stays fresh in the refrigerator for up to 5 days. Store it in a cake carrier or another large airtight container. If you've already cut into it, cover the cut section with extra frosting so it doesn't dry out.
Freezing
Tightly wrap individual slices in plastic wrap and freeze in an airtight container for up to 3 months. When you're ready to enjoy, unwrap a piece and let thaw at room temperature for about 1 hour.
Frequently Asked Questions
You can use two 6" pans instead of 3 (the layers will be thick), two 8" pans, or a 9x13" pan for a sheet cake.
You can, but you'll need to adjust the quantity to get the right saturation. Regular red food coloring tends to lean a bit pink, so I highly recommend getting professional red gel food coloring. You can use it in red velvet cupcakes, cookies, truffles, and other bakes!
Yes, it needs to be stored in the refrigerator because of the cream cheese frosting. You can leave the cake on the counter for up to 2 hours, but it needs to be refrigerated beyond that.
More Cake Recipes to Try


📖 Recipe
Naked Red Velvet Cake
Equipment
- 1 5-quart stand mixer with paddle attachment
Need Metric or US Customary Measurements?
Use the buttons below to toggle between grams and cups!
Ingredients
Red Velvet Cake
- 285 grams cake flour
- 15 grams cocoa powder
- 300 grams granulated sugar
- 1 ½ teaspoon baking powder
- ⅜ teaspoon baking soda
- ½ teaspoon salt
- 114 grams unsalted butter softened
- 114 grams neutral oil
- 2 large eggs room temperature
- 1 egg white room temperature
- 2 teaspoon vanilla extract
- 240 grams buttermilk room temperature
- 2 teaspoon red gel food coloring
Cream Cheese Frosting
- 114 grams unsalted butter softened
- 227 grams full fat cream cheese room temperature
- 480 grams powdered sugar
- 2 teaspoon vanilla extract
Instructions
Red Velvet Cake
- Preheat the oven to 350°F/180°C. Spray three 6-inch cake pans with nonstick baking spray and line with parchment paper circles.
- Add cake flour, cocoa powder, sugar, baking powder, baking soda, and salt to a large bowl. Mix with an electric handheld mixer or stand mixer until combined.285 grams cake flour, 15 grams cocoa powder, 300 grams granulated sugar, 1 ½ teaspoon baking powder, ⅜ teaspoon baking soda, ½ teaspoon salt
- Beat in the butter on low speed for about 5 minutes or until the mixture looks like wet sand.114 grams unsalted butter
- Add the oil, eggs, egg white, and vanilla. Mix on low until a batter forms.114 grams neutral oil, 2 large eggs, 1 egg white, 2 teaspoon vanilla extract
- Pour in the buttermilk and mix until well combined. Then mix in the food coloring on low.240 grams buttermilk, 2 teaspoon red gel food coloring
- Distribute the cake batter evenly between the three cake pans. Bake for 28-34 minutes until a toothpick inserted comes out clean.
- Remove the cakes from the oven. Let cool in the pans for 10 minutes before turning upside-down and transferring to a wire cooling rack. Allow the cakes to cool completely before frosting.
Cream Cheese Frosting
- Beat room temperature butter and cream cheese together with a stand mixer or hand mixer on medium-high speed until smooth and creamy.114 grams unsalted butter, 227 grams full fat cream cheese
- With the mixer on low, add the powdered sugar 1 cup at a time until completely combined and smooth. Scrape down the sides of the bowl as needed.480 grams powdered sugar
- Mix in the vanilla extract on low until combined. Then increase the speed to medium and mix until the frosting is light and fluffy.2 teaspoon vanilla extract
Assembly
- Place one cake layer on a cake stand and spread ¾ cup frosting evenly across the top. Repeat with the second layer.
- Flip the third layer upside down and place on top. Carefully spread a thin coat of frosting around the whole cake with an offset spatula.
- Add the remaining frosting to a piping bag with a star tip and pipe on top of the cake. Slice and enjoy!


Comments
No Comments