
If you've ever wanted a topping that's decadent and coffee-forward without the cloying sweetness of buttercream, this espresso ganache is the answer. It's smooth, luxurious, and only made with 3 ingredients- white chocolate, cream, and a touch of espresso!

This espresso ganache is a simple recipe with a smooth, creamy texture and rich coffee flavor. Espresso powder adds the right amount of depth without being overpowering.
This ganache is easy to use in so many ways: spread it on cupcakes, drizzle over brownies, or whip it into a frosting for cakes. It's a simple way to elevate all your baked goods!
For more ganache recipes, make this strawberry ganache, whipped lemon ganache, and raspberry ganache.
Jump to:
Why You'll Love This Recipe
- Smooth and creamy texture- Like my caramel ganache and pistachio ganache, the heavy cream and white chocolate creates a silky coffee ganache that melts in your mouth.
- Bold coffee flavor- Espresso powder balances the sweetness of the white chocolate with a kick, making it perfect for coffee lovers.
- Super versatile- Adjust the consistency to use it however you like! Keep it thin for drizzling over ice cream, chill it in the fridge and pipe it on macarons, or whip it to spread on cakes and pipe on cupcakes and other pastries.
Key Ingredients

- Heavy cream- You have to use heavy whipping cream. Half and half or milk are too thin and won't emulsify with the white chocolate.
- Espresso powder- Make sure to use instant espresso powder or instant coffee, not coffee grounds. Ground coffee won't dissolve fully and makes the ganache gritty.
- White chocolate- I used white chocolate chips, but chopped white chocolate baking bars are the easiest to melt because they don't have the stabilizers that chips have to hold their shape. Chocolate bars also taste the best!
For ingredient quantities, see the recipe card at the bottom of this post.
Can I Use Different Chocolate?
I haven't tried making this coffee ganache recipe with a different type of chocolate, but feel free to experiment with semi-sweet or dark chocolate. Because of the cocoa solids, the ganache will set up more firmly, which could be good for drip cakes or rolling into truffles.
Step by Step Instructions


Step 1: Microwave the heavy cream in small bowl at 30 second intervals for 1-2 minutes until the sides are bubbling. Then whisk in the espresso powder until it fully dissolves.
Alternatively, you can warm the cream and instant coffee in a small saucepan over medium heat, stirring until the sides simmer.
Step 2: Pour the hot coffee mixture over the white chocolate in large bowl. Let it sit for 1 minute so the chocolate begins to melt.


Step 3: Stir the ingredients together with a rubber spatula until the mixture is smooth. I don't recommend using a wire whisk because it creates big air bubbles.
Step 4: For drizzling, use immediately. If not, cover with plastic wrap touching the surface of the ganache so it doesn't crust.
For a more spreadable ganache, refrigerate for 1-2 hours. For a thicker ganache that whips into frosting, chill for 2 hours or more.
This ganache never totally hardens and will thicken to a peanut butter consistency at most.
How to Whip Ganache
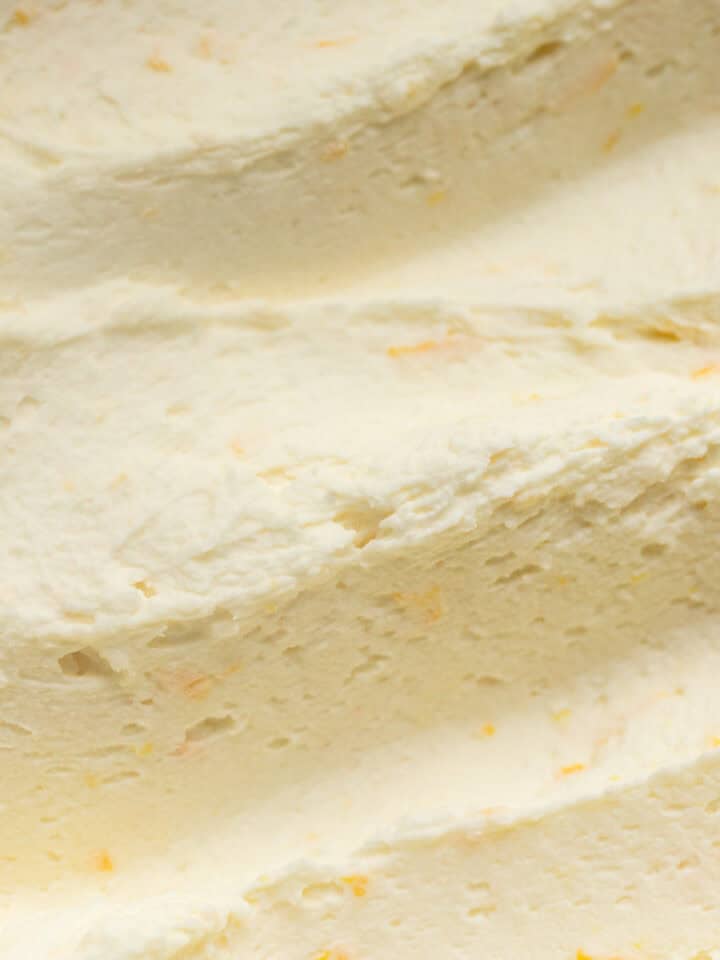
Once the espresso ganache chills and has a pliable consistency, beat on medium-high speed with a hand mixer or stand mixer with the whisk attachment for 2-4 minutes until it lightens in color and becomes fluffy.
Don't overwhip! If you go too far, it can get grainy. Stop as soon as it looks light and mousse-like.
Whipped ganache frosting is best piped or spread immediately since it can firm up again as it sits.
Top Tips
- Don't overheat the cream: If the cream boils, it can scorch the chocolate and make it split. Make sure it just gently simmers around the edges.
- Use a kitchen scale: The ratio of chocolate to cream is really important for ganache to set up properly, so measuring the ingredients in grams with a scale will get you the most accurate and consistent results.
- Chill in a shallow bowl: Chilling the coffee ganache in a shallow bowl helps it cool and set faster and more evenly. A deep bowl keeps the heat trapped in the center, which can make the ganache take much longer to firm up.

How to Use
- Pour it on top of an espresso cheesecake!
- Fill the center of these tiramisu cupcakes or pumpkin spice cupcakes with the ganache.
- Whip into a frosting and pipe on top of a chocolate ganache cake or ganache brownies with a large round tip.
- Use it as a filling between the layers of this chocolate mascarpone cake or truffle cake.
More Ganache Recipes to Try

📖 Recipe

3-Ingredient Espresso Ganache
Equipment
- 1 small bowl
- 1 large mixing bowl
Need Metric or US Customary Measurements?
Use the buttons below to toggle between grams and cups!
Ingredients
- 100 milliliters heavy cream
- 4 grams instant espresso powder or instant coffee granules
- 254 grams white chocolate chopped or chocolate chips
Instructions
- In a small microwave-safe bowl, heat the heavy cream in 30-second intervals until it's simmering, not boiling so you don't burn the chocolate.100 milliliters heavy cream
- Stir the espresso powder into the cream until fully dissolved.4 grams instant espresso powder
- Pour the hot cream mixture over the white chocolate in a large bowl. Let it sit for 1 minute so the chocolate softens.254 grams white chocolate
- Stir gently with a spoon or rubber spatula until the ganache is completely smooth. As you mix, you will see flecks of chocolate that will melt and become uniform.
- Once fully combined, use immediately for drizzling or cover with plastic wrap touching the surface and chill for 1-2 hours until it becomes thick and spreadable. For a thicker ganache that whips into frosting, chill for 2 hours or more.


Comments
No Comments